Arduino as a Keyboard
Keyboards. They have been around for decades and they still are pretty much the same. But what if you could create your own USB device that could perform all the functions of a keyboard and more?
##Background and use cases
I saw some devices a few years back like this big button that would plug into the computer and be able to put the computer to sleep in one push… after having to download and install a software program!! If we don’t see them around anymore I may not have been the only one who never found a use for it.
There are lots of keyboards and mouses out there with custom buttons to which we can apply some shortcuts, but this doesn’t make a new device, it’s just an improved keyboard or mouse. And moreover, these are all still buttons!
We are already seeing new ways to interact to control computers, like Leap Motion or VR Headsets. Sensors are taking over the UX with computers, phones and IoT, let’s try to get creative.
##What about with your Arduino
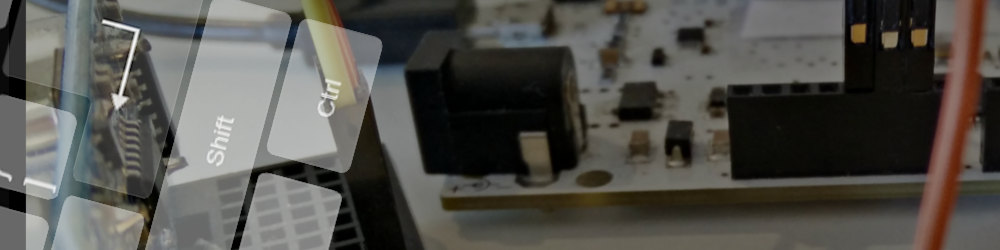
Some Arduino boards can emulate keyboard and mouse functions, which means that you can programmatically simulate the keyboard and mouse inputs. If in this post I’m mostly going to focus on the Keyboard library, I already plan to talk more about the mouse functions soon.
The reason not all models can do that is because they do not all carry the built-in USB communication chip, allowing them to appear to the computer as a mouse or a keyboard. The official boards that do have this feature, at the time I’m writing this, are the Arduino Leonardo, Micro and Due.
##The Keyboard library of the Arduino
In order to use your Arduino as a Keyboard, you will need to tell the board that your program will start the emulation.
To do so, you will need to call this function:
Keyboard.begin()As stated in the documentation, there are a few simple functions to control the keys:
Keyboard.end() // stopping the emulation
Keyboard.press() // simulate pressing a key
Keyboard.release() // release a key that has been pressed
Keyboard.write() // writes the string of text passed to itWarning: this will take control over your keyboard, so be careful when testing to only start the emulation after an action like pressing a button or activating any switches.
##A few examples in action
In the video below, you will discover a recap of the basic functions at our disposal to play with the keys, along with two simple examples. In the first one, it is a simple key combination shortcut that is executed when a button is pressed. In the second one, I used a proximity sensor to interact with a web page.
The code I wrote for those two examples is shown and explained in the video, and the files are available on Github.
I hope that this quick presentation and tutorial about Arduino and keyboard emulation will help you in your projects. Please share your thoughts and questions in the comments section below.
Florian